Neon Loading Screen
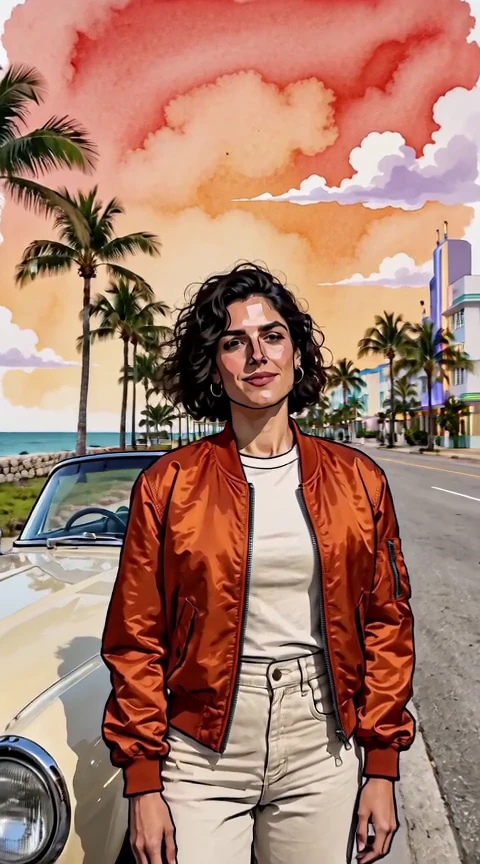
Watch a portrait turn into an illustrated character as palm trees and harbor lights come into view.
Choose from seven scenes and make a short video from one portrait.
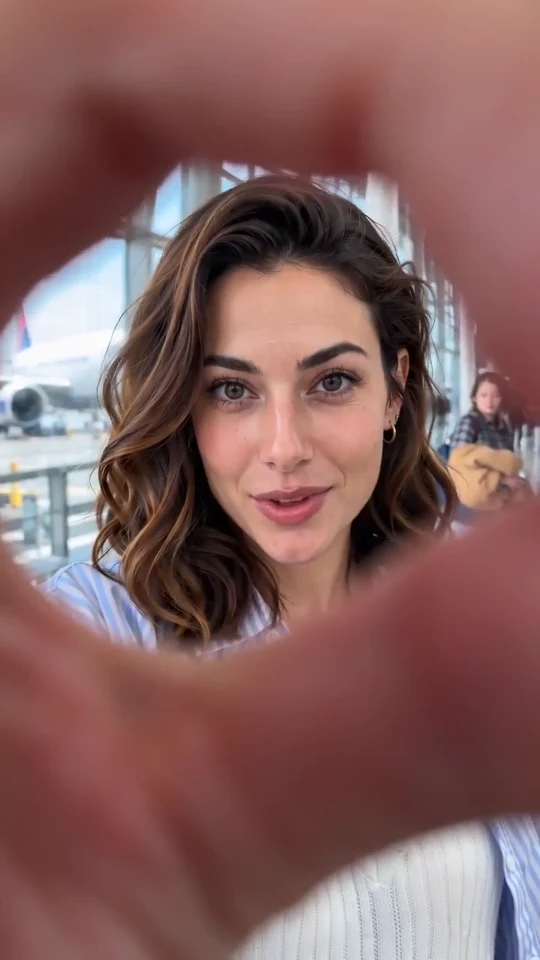
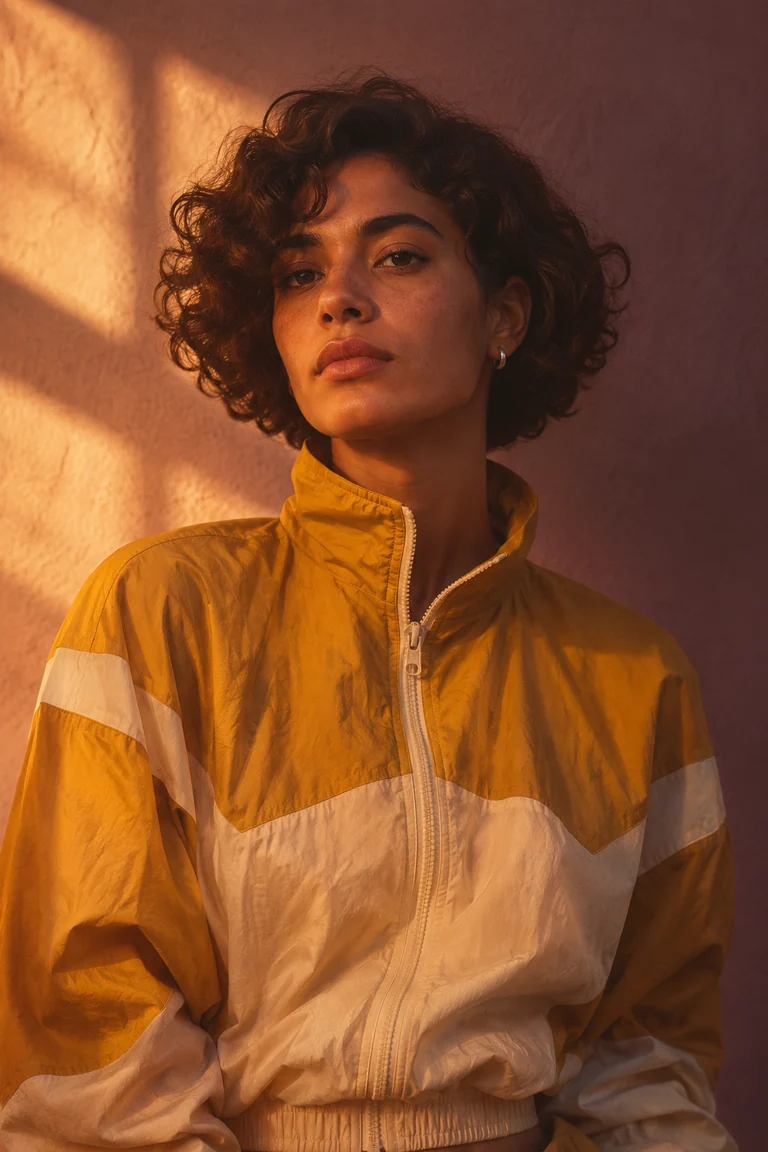 Original photo
Watch a portrait turn into an illustrated character as palm trees and harbor lights come into view.
Start beside the driver and follow the camera out to a wide view of the coast in the late afternoon light.
Follow the main character along a waterfront boardwalk and watch them greet friends in the late afternoon sun.
Stand face to face at the pier railing and gesture as you talk beneath the string lights.
Turn toward the driver beside your parked convertible and exchange waves through the open windows.
Take a folded postcard from a friend and share a quick side hug on the pier at sunset.
Follow the camera from a rooftop silhouette over the harbor to your character beneath the night market lights.
Start with a clear face and a distinct silhouette. The bright jacket and open face make the subject easy to follow across the cut.
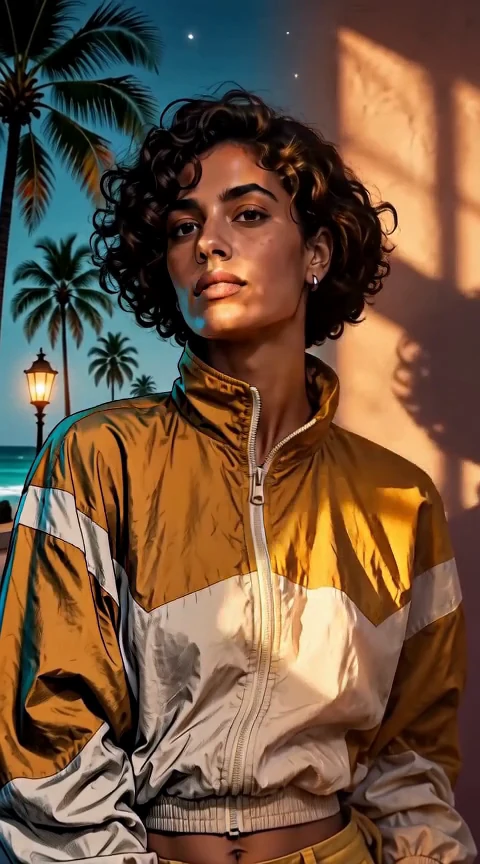
Watch the lighting, backdrop and linework change. The face and jacket give your eye a point of reference while the new scene comes into view.
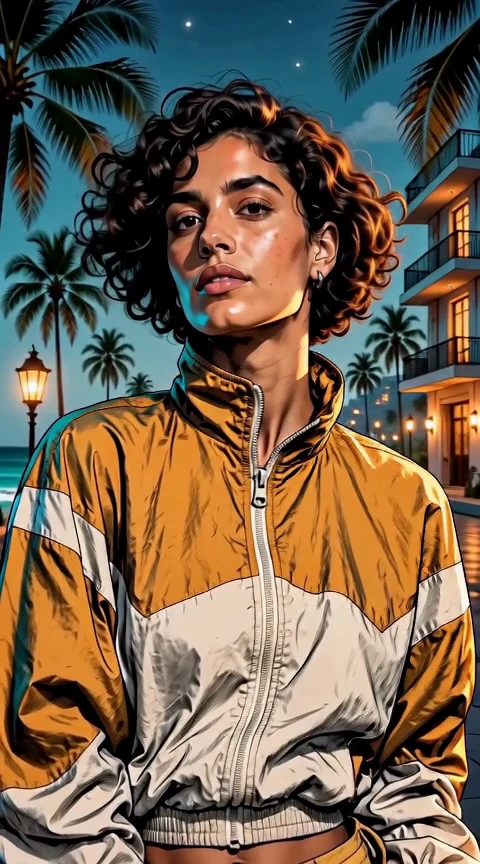
Pause near the end to see how the portrait reads at phone size. Keep the face clear of the busy lights and leave room if you plan to add a caption.
This GTA 6 AI video generator turns one portrait into a short video. Pick from seven scenes that cover character reveals, coastal driving and waterfront encounters. Your portrait supplies the lead character. The default Lite model makes a six-second vertical clip.
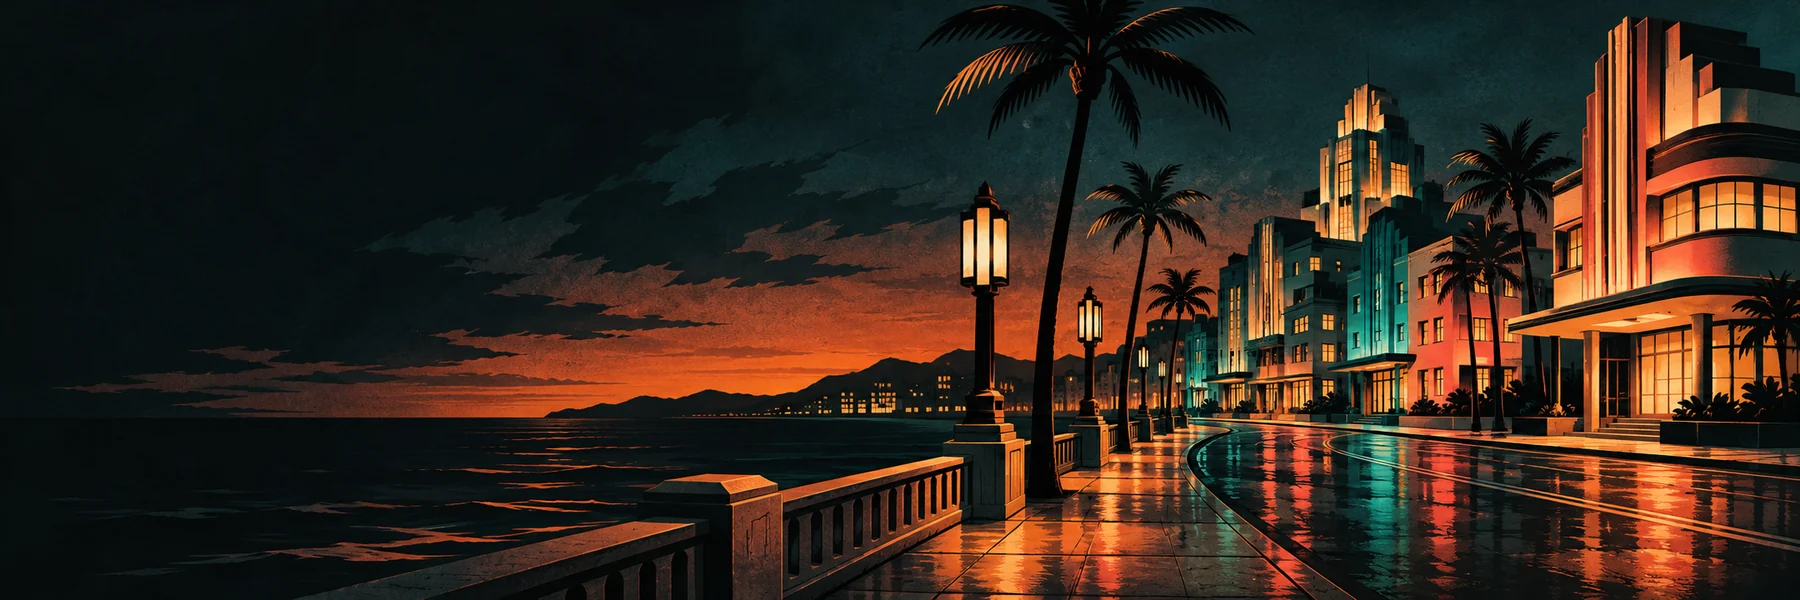
Rockstar Games introduces its fictional Vice City with a sunset-to-neon atmosphere. The loading screen scene draws on the mix of warm sky and cool lights. Aerial Character Switch takes the camera across the waterfront before revealing your character at the market. Rockstar Games’ Vice City Introduction
In JDCapcut’s vertical example, a rising wipe connects a mirror selfie to an illustrated pose. Atlas Cloud matches the portrait across the photo and illustrated setting. A readable silhouette helps viewers follow the loading screen transition with the sound off. JDCapcut’s GTA 6 Screen AI Example Atlas Cloud’s Moving Loading Screen Guide
Bring one photo you have permission to use. The default setup is 6 seconds at 480p in 9:16. A still JPEG, PNG or WebP can be up to 10 MiB, with both sides at least 300 px and up to 36 million pixels in total. A close or waist-up portrait with even light gives the scene a clear starting point.
Browse the scene gallery for original portraits and available demo clips. Choose from the picker above the upload box or select Use This Scene from the scene details.
Upload one portrait or try the sample photo. Use the phone upload option on desktop, or select a file directly on your phone. If the upload fails, check the file type, size and dimensions.
Choose Lite, Basic, Standard or Pro under Generation model. Open Quality & Sound to review the resolution or turn sound off if you plan to add your own soundtrack. Add an optional note about lighting or color, then check the live credit quote and sign in to generate.
Watch the clip through to the final portrait or wide shot. Pause to check framing. Download directly or send the video from desktop to your phone. For another take, try a simpler portrait or a shorter creative note.
Use Neon Loading Screen for a quick character introduction or Aerial Character Switch to establish a location before revealing the portrait. Pair Coastal Drive with travel footage, or choose Car Window Greeting if the wave between drivers is the focus.
Open a TikTok, Reel or Short with the vertical clip, or post it on its own with a caption. Check it at phone size to see whether the platform’s controls overlap the face.
Use Boardwalk Arrival to introduce a meeting, Pier Standoff for a tense conversation, or Waterfront Farewell for a goodbye. A still GTA 6 filter portrait can serve as a cover for the vertical clip.
Create Your VideoThis GTA 6 filter creates a short video from one portrait. There are seven scenes, including a loading screen reveal, driving scenes, pier encounters and an aerial character switch.
Yes. Open a scene to see the original portrait and play the demo if available. Select Use This Scene to apply the preset, then generate when your photo is ready.
Use a portrait of one person. If you start from a group shot, crop around the person you want in the scene and check that the new image still meets the size requirements.
It is an independent creative template for original short videos. Your clip uses the person in the supplied photo and an imagined coastal backdrop.
Lite uses 480p. Basic and Standard offer 480p or 720p. All three make a 6-second vertical clip in 9:16. Pro offers 480p, 720p or 1080p with automatic duration and framing. You can turn sound on or off at any tier.
You can keep the sound setting on for generated audio or switch it off for a silent download. Add your own authorized soundtrack in your video editor if you want a specific track.
The generator shows the current estimate in credits. Generating from your own photo requires signing in and having enough credits.
Download the finished video from the result on your phone. On desktop, you can download it there or use the result’s download-to-phone option.
AI can change details such as facial proportions, clothing or how the light falls. Compare the opening and last shot with the original portrait before posting. For another attempt, use a front-facing photo without objects covering the eyes or mouth.
See the fictional city’s night lighting and color palette.
Watch a creator line up the original pose with the illustrated reveal in a 9:16 edit.
See how a photo and its illustrated counterpart can be matched across a transition.